Wednesday, April 24, 2013

The Rhino Unboxes: A Photo Essay

FIGURE 1: THE RHINO MAKES A DISCOVERY

Fig 1: Presents?
"O hai! A present for me!"


FIGURE 2: ALAS! VERTICALLY CHALLENGED
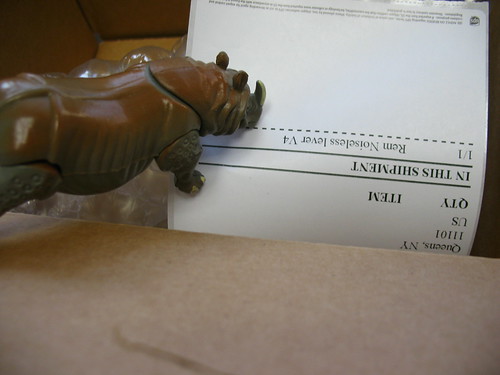
Fig 2: What's inside?
"Little help, plz?"


FIGURE 3: DECIPHERING AN EXOTIC TONGUE

Fig 3: From Australia?
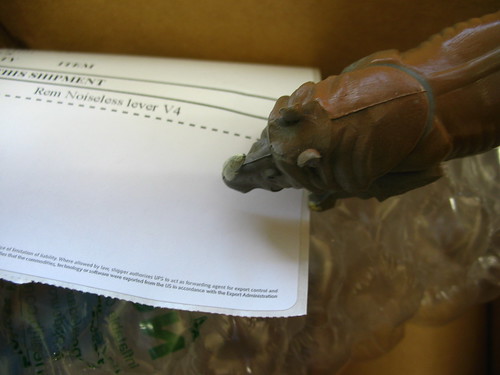
"Insert 'upside down/down under' joke here, k thx bye."


FIGURE 4: WHEREUPON WE ARE RIGHTED

Fig 4: That's better
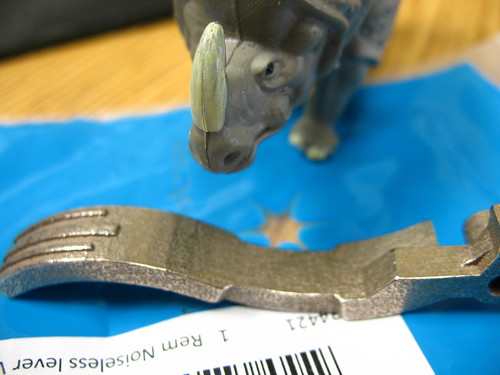
"Mr. Remington, I presumes?"


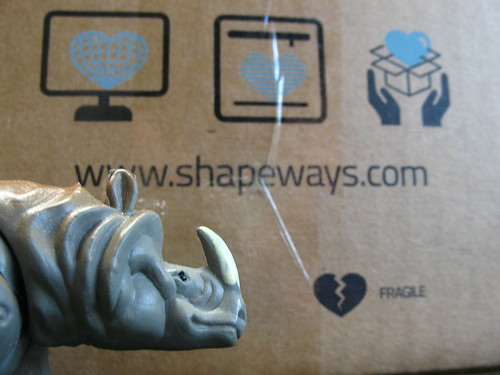
FIGURE 5: THE RARE BURROWING RHINO
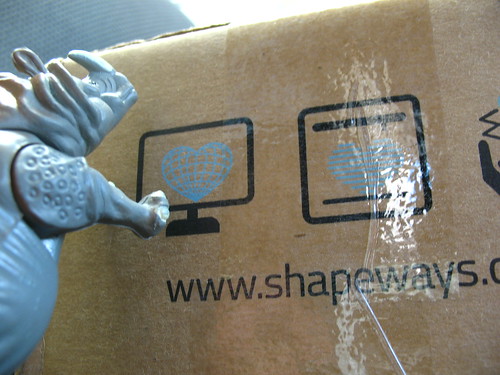
Fig 5: HALP
"HALP!"


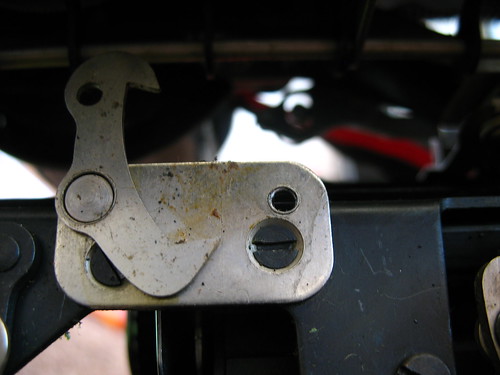
FIGURE 6: THE PATIENT IS READY

Fig 6: Meeting the patient
"This won't hurt a bit."


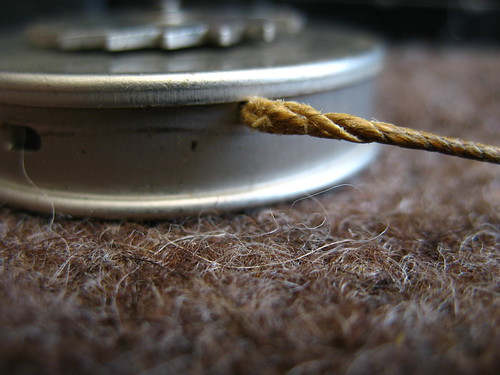
FIGURE 7: OBLIGATORY MACRO SHOT

Fig 7: Revealed
"I can haz teh shiny?"


FIGURE 8: LEARNING AT THE MASTER'S FEET

Fig 8: Scott provides guidance
"Chamfer? I hardly even know her!"


FIGURE 9: OBLIGATORY OLD VERSUS NEW

Fig 9: Old vs. New

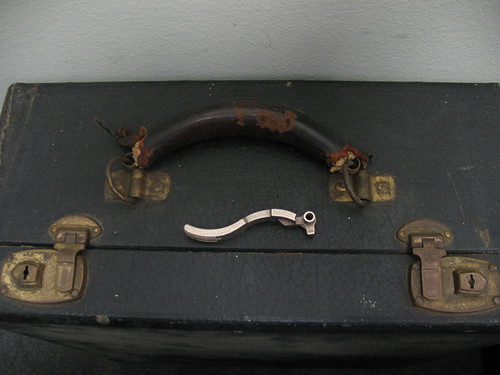
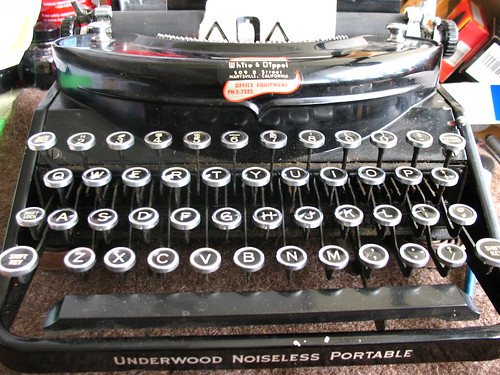
Right on time, the replacement lever for my busted Underwood Noiseless arrived yesterday, and whether by chance or because of the mystickal frission that binds the Typosphere together, Scott posted his own experiences with repairing his Noiseless. Spooky!

I opted for the plain stainless steel finish on my part, instead of the antique bronze that Scott accidentally chose.The plain steel lacks the lustre of the chromed parts that it will be living alongside, but I'm not going for a historically-perfect restoration. At first I thought I might buff and polish the surface a bit, but now I don't think I will. There's a slightly pebbly, imperfect look to the new part that I like. You won't mistake it for original equipment, but it's not immediately evident that it's only a week or so old. The part is very well-made and much smoother to the touch than you might expect, and I really like the extra details Scott added to the model -- the loose "S" shape to fit your fingers, the Deco-style ridges on the end. It was well worth the expense and the wait.

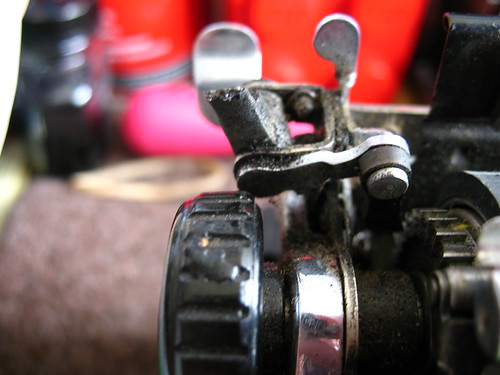
Now I need to take some careful pictures of the spring arrangement in the return lever, and dig up some tools to make the necessary adjustments to fit this piece in place, and get this old beauty back in typing shape. And maybe I'll let the Rhino help a little, too.

Monday, April 8, 2013

Dear Mr. Remington: Well-Played, Jerkface

Is there no depth to which my old nemesis refuses to sink? I was ticked to find that Scott's 3-D printed part should -- with some care -- fit my new/old Underwood Noiseless, and while I wait for his part to be printed and shipped, I've been looking at the drawband problem.

Here, in essence, is the problem:

Drawband and drum
(All that hair is actually wool fibers from the homemade typing mat.)

That piece of cord doesn't extend very far out of frame, and only a few molecules of that classic waxed twine is left on the carriage end. No matter! I have replacement code left over from my last Remington re-stringing, and I see that this has the same, annoyingly-small hole in the side of the drum. On the Monarch, I had to expose the spring to retrieve the old cord's knot and feed in a new knot. Scary, but not impossible.

So I've got the Underwood (née Remington) on its back, and I prepare to undo the back plate of the drum to get at the spring. And here is where Mr. Remington's cleverly-laid trap was sprung! (Every pun intended.)

Against all reason, the spring on this machine is sealed up tight -- the drum is crimped together like a tin can. The screw that I thought held the backplate on actually fastened the whole drum to the machine. The damned thing just fell out in one piece, which is why you're looking at a photo of it sitting on a typing mat, and not a photo of a spring seeing sunlight for the first time in decades.

Put drum here
(What's missing from this photo? See the other photo.)

Clever, Mr. Remington, very clever! Did your repairmen have a big box of new spring-and-drum-and-cord assemblies to fit in, or did your salespersons just try to upsell the next model to the poor suckers customers who walked in to your shops with a bad case of Dangling Drawcord? It's Draconian. I salute you, sir.

Maybe, just maybe, I could pry the drum apart to get at the remainder of the cord, get a new one in, push the drum together again, and it will all work fine. Or maybe, just maybe, I don't want to suffer. So I'm going to see about finding or fashioning a tiny hook and attaching my new line to that hook, and if that works, just clipping the old line away at the edge of the drum. It's been kicking around that spring for 70-plus years, and it would be shame to break up the set.

[Shakes fist angrily in the air while striking a heroic pose]

I will defeat you, Remington! Do you hear me? Remingtonnnnnnnnnnnnnnnnn!

Friday, April 5, 2013

Ouch

I don't know if I have the luck of Adwoa or Robert but two typewriters crossed my path today: an unremarkable and very stinky SCM Galaxie that I left behind, and this lovely piece of keychop-bait sitting at a local antique shop:

Underwood Noiseless c1934

Ted's database puts this in 1934, which is a fine year for typewriter style. The keys on this machine look brand-new, though there are a few issues below the dirt-and-grime layer. The drawband is snapped, as one would expect in a machine this age. The bell doesn't ring, though the mechanisms appear to be complete.

Being a little preoccupied today, I also failed to notice that the return lever is missing.

Underwood Noiseless, missing one return lever

If I was earlier in my type-accumulating career, I might have thought this an impassable obstacle, but it looks more like a hassle than anything else. I can always advance the line by hand for now, and maybe I can take a page from the Filthy Platen Playbook and have my own replacement made. I'm shockingly unstressed about the whole thing.

UPDATE: Scott's machine was identical. Not only can I have a replacement made, but I can use his very design. This is where the Typosphere is a Huge Win, people -- collectors helping collectors, worldwide.

Besides, I'm a huge sucker for old repair shop labels, and I love this one, right on the front of the machine.

White & Dippel or Marysville CA

Wounded or not, it would have hurt to leave this one behind.

UPDATE: a few more macro shots showing the site of the broken lever. Click to empixelate.

Underwood Noiseless return lever, detail Underwood Noiseless return lever, detail Underwood Noiseless return lever, detail


Tuesday, April 2, 2013