Showing posts with label kmart. Show all posts

Wednesday, June 27, 2012

Dot's Life

typecast 20120627

What could it be?
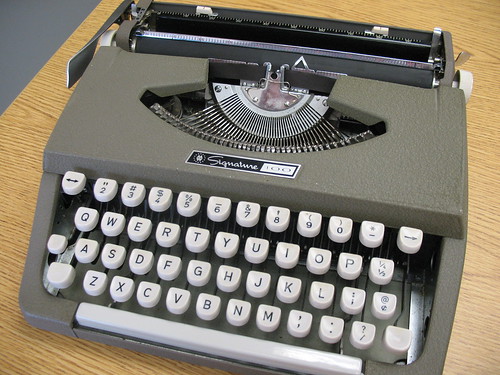
Finding the Signature 100 in the wild (recreation)

Signature 100 Typewriter
Surprise! It's a typewriter. Never expected to see that around here, did you?

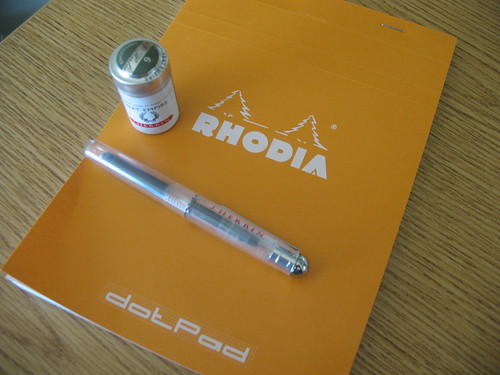
Rhodia goodies
Something unexpected (but not at all unwelcome)


Typed on the recently Silver Surfer-ized Kmart 100
The Silver Surfer, complete

Tuesday, June 26, 2012

Silver Satisfaction

Thank goodness for eBay.
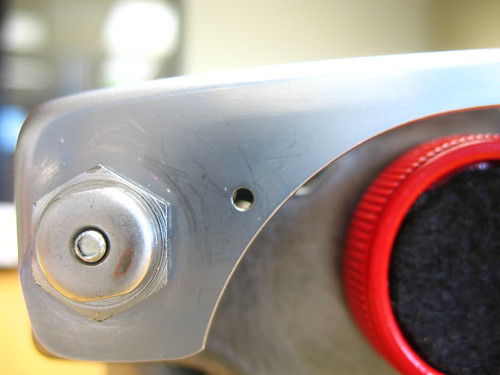
Return handle, stowed

The local craft store turned out to be no help at all for a 2mm bead to replace the missing ball bearing that somebody stupidly lost when stripping the paint from this machine. There's a hobby store nearby, and they sell parts for model cars and planes, both of which appear to use 2mm bearings in some elaborate mechanisms, but I didn't relish forking out a chunk of cash to buy one just to pull it apart, never mind trying to find a suitable replacement in the first place.

eBay came through, though, with a domestic seller "toolsupply" offering a bag of 100 2mm balls for a very reasonable price, plus free shipping. The parts arrived yesterday, and I set them aside after playing the usual round of Inappropriate Joke Time with my family ("Hey! Dad's balls are here!" "Honey, did you mail-order balls?" "Oh thank goodness: now I have lots of spare balls." etc.)
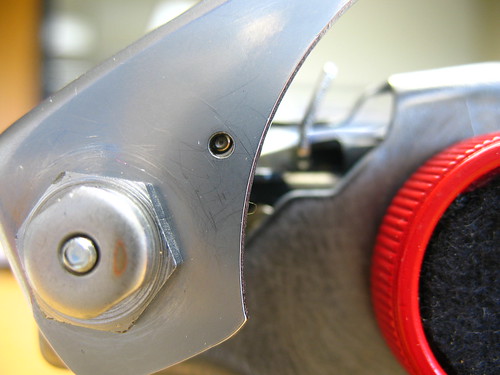
Return handle, locked

The replacement fits perfectly. And no wonder I couldn't find them locally: 2mm is a tiny little bearing, far to small for any application that I can think of, even for a bike, as recommended in the discussion in the last topic. It's seated exactly right in the opening, and the small tang that holds the ball in place now properly locks the return arm, as above.

Here's a shot of the inside of the return mechanism, just for completeness and archive purposes, in case I get a bright idea to take the arm off again and forget how it goes back together.
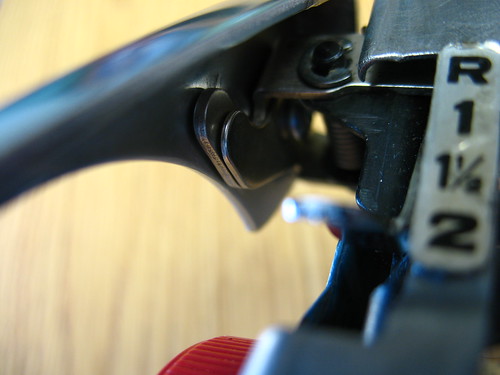
Return handle, the business end

So, the arm is back in place at long last. I dropped in an old ribbon just to make sure I hadn't made any other horrible mistakes (I didn't) though I think I'm going to need to address that broken backspace sooner rather than later. It appears that the backspace is not only loose, but sometimes also hangs up the escapement which only a certain amount of jiggling can resolve. I might be getting back on eBay, checking out toolsupply's selection of springs, once I know what I'm looking for. Luckily, the backspace is accessible by removing the bottom plate alone, which is easy.
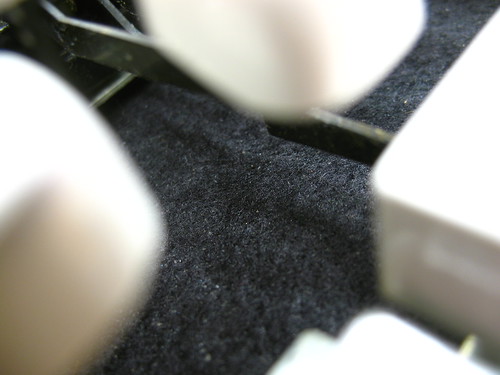
Fabric on the bottom

Naturally, I banished the crummy, stinky soundproofing foam from the bottom and side panels, and replaced it. This time I cut up a large piece of wool/nylon blend that I found in the remnant rack at eh craft store. It's held in place with automotive gasket silicon from the dollar store next door. The black looks pretty nice, what of it you can see.

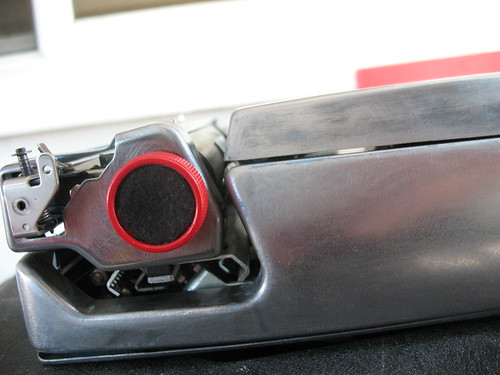
I also lined some panels that weren't originally done, like the inside of the ribbon cover, and the inside of the panel that runs behind the paper table (behind the margins.) I also lined the inside of the knobs, since the paint bubbled up there. I like the effect of the red and black together, as you can see in the above pics. It's a repetition of the bicolor ribbon, and looks very typewriterish to me.
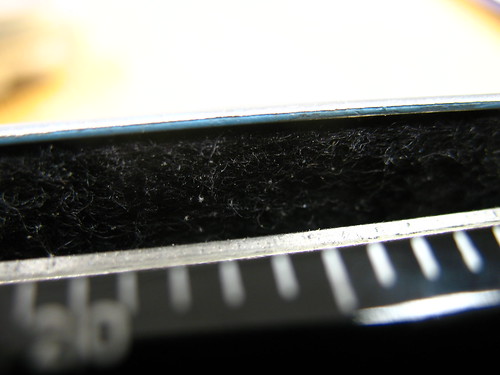
Fabric on the inside

I did this mainly so I would not need to completely strip the inside of all the panels. I was pretty tired of the power tools by that point -- everything was done hand-held, since I don't have a proper workbench -- and more than once I wasn't paying attention and abraded some of the skin from my hand or arm with a tool. Ouch.

I think it was all worth it, though:
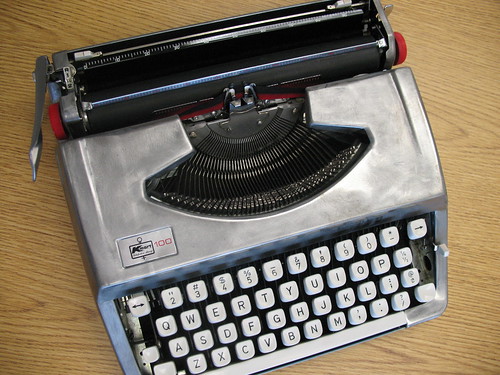
The Silver Surfer, complete

I'm still not convinced about the aesthetic quality of the plain silver. I did try affixing some art-tape racing stripes to the machine, but the tape was never meant to affix to bare metal, and peeled right off. The panels are steel, so magnets will stick to them. Perhaps I will go for magnetic stripes, or flames, or some other decoration. I'm not sure yet. But that's what makes projects like this so much fun: it's a blank canvas, and there's tons of room for customization.
Tuesday, June 19, 2012

Silver Suffer

The Silver Surfer project continues.

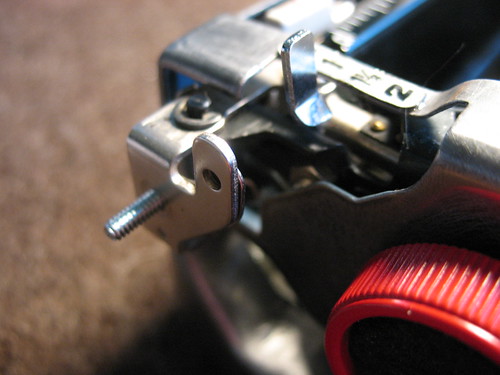
I finally managed to get a replacement bolt in place to secure the carriage return lever. Just to recap, here's what the business end of the carriage looked like "before," after I'd carelessly sheared the bolt in two while trying to tighten the mechanism down.

Silver Surfer Knob


And here's the replacement bolt in place, approximately the same length, and mercifully, the same threading as the bolt it replaced. So now all I need to do is put the lever on and tighten (carefully!) the nuts that hold it in place, right?

Right?

What do you mean, "no?"

Bolt Replaced

Well, no. When I fasten the lever in place, it doesn't stay put. Since this is a travel machine, the return lever folds down for transport, and then snaps upright for use. But the "snaps upright" part isn't happening. If your name happens to rhyme with "Pitchard Bolt" then you surely have seen it already...

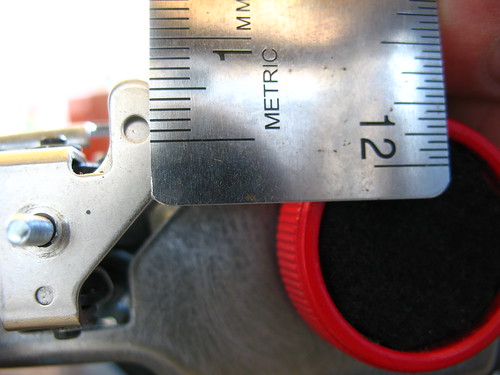
That little hole you can see there, in that angled bit of metal? Yeah, that? That is supposed to hold a teeny-tiny little ball bearing, which presses against the return arm and provides enough friction to keep it in the stowed position. The return arm has a smaller hole through it which the ball bearing pops into and acts as a lock. It's a really clever system, and obviously far more clever than I am, he who blinding removed the arm without paying attention to tiny round Important Parts that likely went pinging around the room someplace.

In short: dammit.

So, I'm off to see if I can source a tiny, tiny ball bearing. Small enough to fit into this hole, but not so small that it passes through the return lever's hole. That's the bad news.

The good news is: I wouldn't have been able to puzzle any of this out without a working example of the same mechanism to compare. (Installing the bolt meant removing the whole piece, including a spring under tension.) But I won't tip my hand about that quite yet.

Edit:

There was some discussion in the comments about how tiny the "tiny, tiny ball bearing" actually is. Based on some shaky camera work, I'd guess it's a 2mm size, or pretty close to it. I'm going to see if the craft store has any metal beads that might fit the bill.

BB Nest

Sunday, June 10, 2012

Shear Impatience

We're nearly there. Only two small setbacks to report on the silver surfer Kmart 100 project. One minor, one not-so-minor.

Silver Surfer, Handless

The minor issue is feet: none of the ones I have laid in will fit in the slightly-smaller wells in the case, necessitating a return trip to the hardware store with the only remaining non-crumbled foot to get a sense of size. I should be able to find something.

Silver Surfer Knobs

The more serious issue came in replacing the return arm, which had to come off so I could remove the side panel for paint removal. Over-exuberant me decided to over-tighten the small bolt that holds the whole thing together, shearing it apart right in the middle. After filling the air with the heady perfume of weapons-grade profanity, I slipped the broken bolt into the film can which will accompany me to the hardware store. There's some sort of rule here: for any home project that requires N trips to the hardware store, expect to make N+2 trips.

While in the process of fixing things up, I noticed that the backspace mechanism doesn't work, or at least doesn't choose to work with any sort of regularity. This seems to be the fault of a long-broken spring, and I'm not going to fret over it. Maybe that key has a future role to play if I ever yearn to open this machine up again. LED lighting? It could happen.

Meanwhile, I've re-felted the interior panels, obscuring the old blue surfaces. With some extra fabric, I even glued a little inside the repainted knobs, which came out pretty cool, in my opinion. I have a couple of simple decorations I want to add to the machine before I call it "done," but repairing the unintentional damage caused by my zealous tightening and finding suitable replacement feet needs to happen first.

Monday, June 4, 2012

Silver Surfer Update

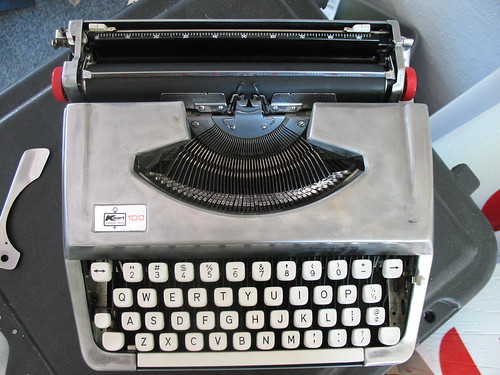
Silver shell

I think I've done as much with the shell of the surfer as I want to do, or have the patience for. There's still a touch of blue paint here and there, but it may wear in time. Next steps:redo the interior felt, put the badges back, and put the typewriter back together.

I've learned a lot from this project, not the least of which is the amount of effort it takes to strip the paint from a typewriter! I've got a new appreciation for the level of effort involved in the other silver-surfer projects I've seen online.

Tuesday, May 29, 2012

Strippers and Power Tools

Among the many other things I did over the holiday weekend (bleeding into a bag, idling in an auto showroom) I broke out the tools and an old bottle of chemical stripper, and of course, the camera. Here's a few in-progress shots of the KMart 100 being silver-surferized...

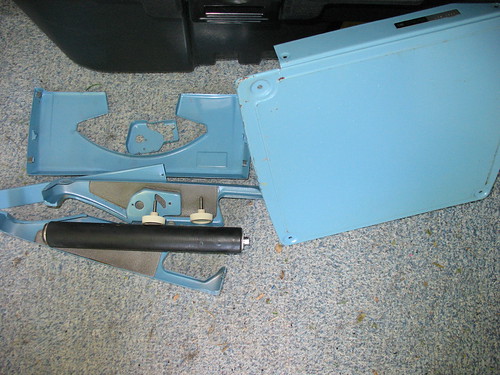
Shelled
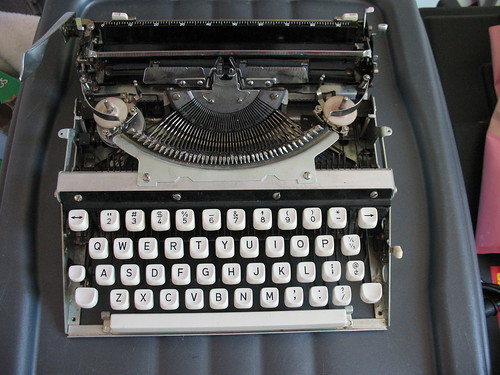
Step 1 is always get the shell off. I'm still considering the idea of a paint job, so I went ahead and pulled the platen off, too: my first-ever removal. Finding the little set screws was the challenge, and hopefully they'll tighten down more easily than they loosened. Also, the knobs had to be removed to remove the small metal panels on either side of the carriage.

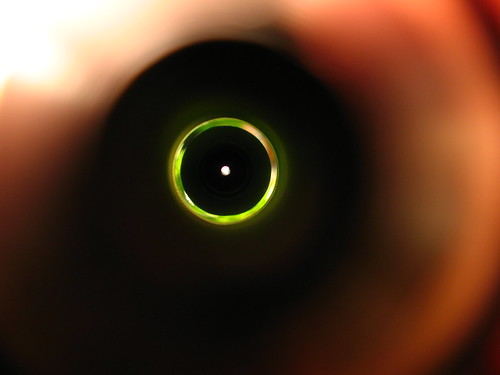
Through a Platen Darkly
A peep down the inside of the platen. The silver ends of the platen reflected light coming in from the outside. Is this a kaleidotyposcope?

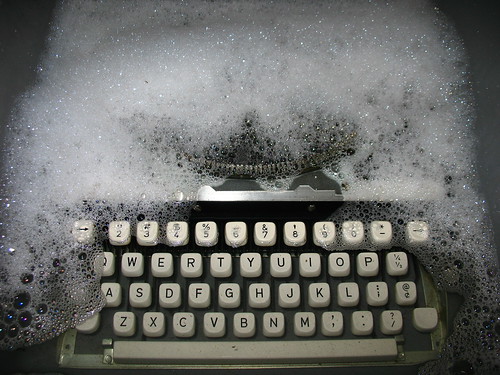
Submerged
And bloop into the bath goes the guts. This removed a good deal of gunk from the works, though I still needed to brush out the typefaces (which made more mess later.) Next time: brush out the typefaces first.

Shell
The shell is the next thing to get some careful attention while the innards dried in the sun. I peeled out the foam soundproofing from the bottom and sides, which reeked of old cigarettes, despite a day or two airing on my back porch. In a moment of questionable judgment, I spray-painted the grimy, yellowed knobs with some red dye leftover from the Pimpwriter.

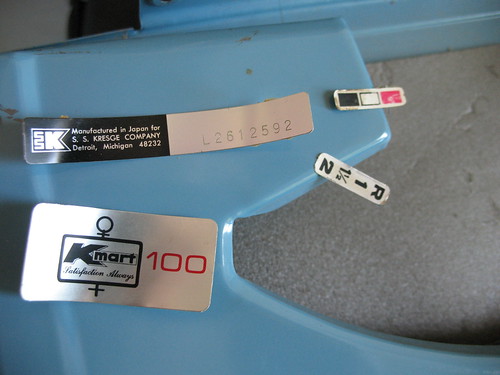
Peeled
Careful use of a knife and a hair dryer to soften the glue, and the badges came off with a small amount of coaxing. I'll flatten them again with a rolling pin before re-applying.


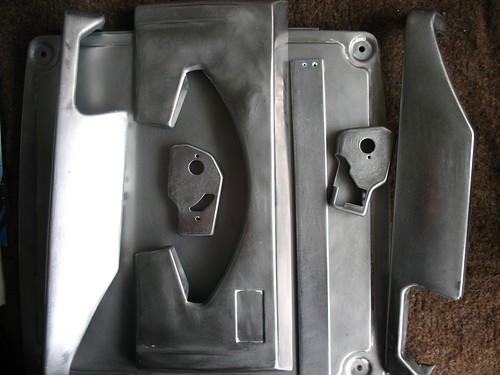
This was the part that took (and is taking) the longest. I used a wire brush on a drill to buff the paint off the outsides of the panels, after they had some ancient paint stripper brushed on. There's no going back now.

Buffing, Buffing, Buffing
Only after I had spent too much time trying to steady these pieces against a spinning drill (and often missing) did it dawn on me that I have a palm sander in the garage. That made much shorter work of the big, flat areas, but I still need to do some obvious touch-ups. All the main surfaces are done, though. Now I have to clean it up, and maybe try a finer grit on the palm sander to polish the metal. I haven't decided yet.

I do know that I don't have the patience to do all the interior surfaces. Chances are I'll just dress those up with some new felt or sticky-back foam from the craft store. Stay tuned!

Thursday, May 24, 2012

Before the Strip

As requested, some "before" pictures detailing the many reasons why I think a typewriter makeover is due for this machine:

Streaks of mystery

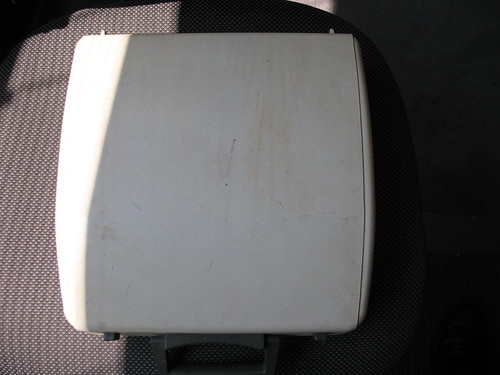
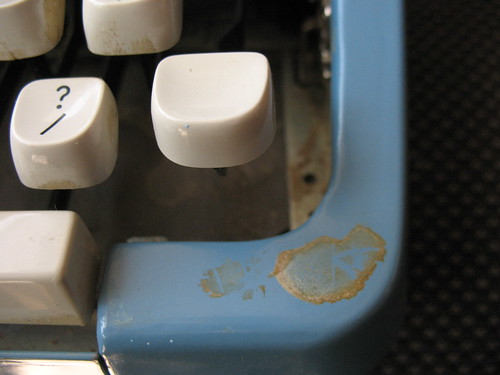
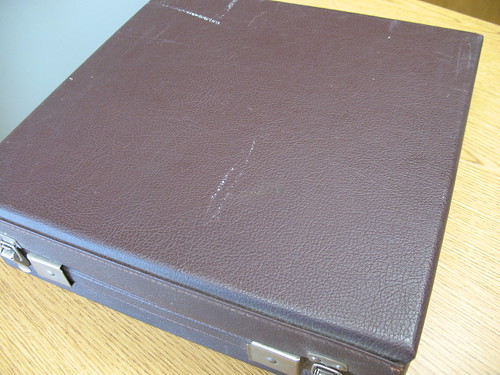
The clamshell-style case has brown streaks of... brownness on it. Keeping the hand sanitizer close by at all times.

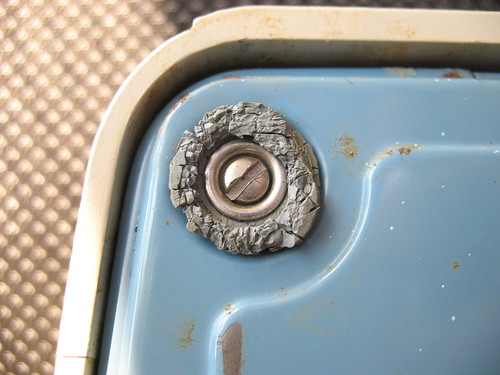
Foot fossil
All the feet are completely shot. These have to come off for me to get access to the insides anyway.

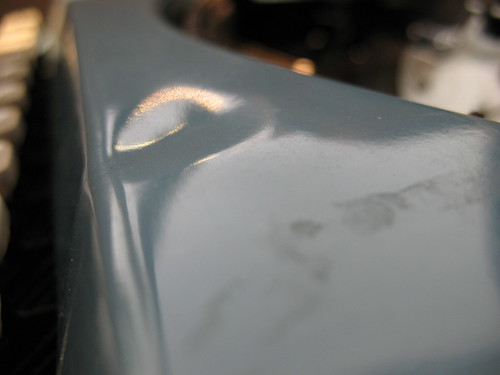
Rough handling

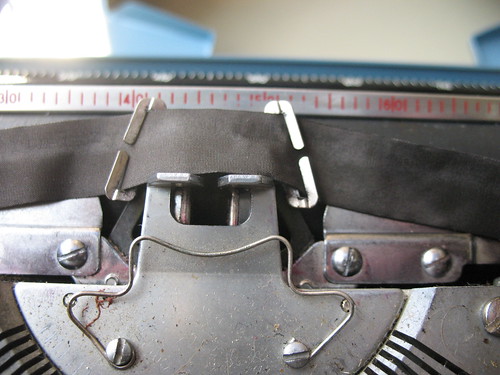
The ribbon cover has some small dents in it: not from transit, though, as UPS packed this machine expertly.

Ribbon gone wrong

A fine layer of eraser dust covers all surfaces. Can you say "dip & dunk candidate?" I knew you could.

Lift before use

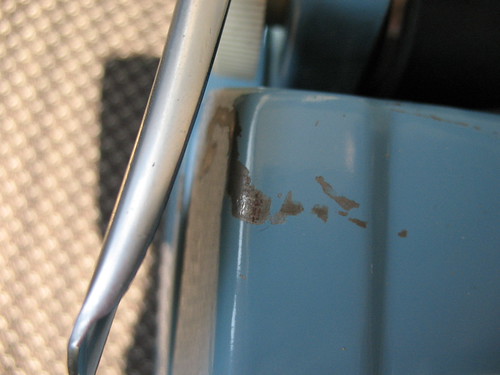
We've struck rust! At least a tiny bit of it, where the lever has banged against the sides or someone's finger has worn away the paint.

Creeping cruds

The whole machine has pockets of crud about it, including a grimy layer creeping up the fronts of all the keys. I suspect a past life as a smoker's writing machine, as these look nicotine-ish to me. The inner layer of sound insulation will be sure to go, too.

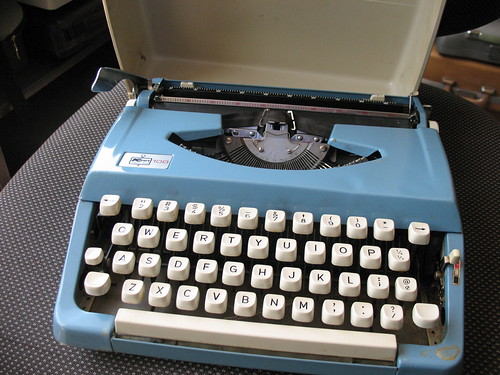
KMart 100 typewriter

Oh sure, it's cute, but I think we can do better than cute, don't you?