Showing posts with label restoration. Show all posts

Saturday, July 27, 2013

Wednesday?

typecast 20130727

"Coccyx" being the word I was trying to spell when I had the problematic "C" key in there. I'm not sure what "coccxy" is, but it sounds suspect. This is the first time I've used a ribbon beyond the standard bi-color or all-black varieties. It's subtle, but I like it. The purple seems very Gothic to me, appropriate for Wednesday Addams, who was something of the proto-Goth.

Here's the machine, with a zoomed in view of the cleaned cover.

Wednesday?

I can only see traces of the original mess, near the chrome trim. A few more minutes with the cotton swabs and alcohol ought to take care of that.

Crinkle paint, sans white-out


In typewriter adoption news, the boxes are in! Staples chose not to inform me of this fact, but I now should have enough supplies to get the first wave of adopted machines out to their new homes. Thanks again for your patience: I'll email folks directly if they're on the list for a typer.

Tuesday, June 26, 2012

Silver Satisfaction

Thank goodness for eBay.

Return handle, stowed

The local craft store turned out to be no help at all for a 2mm bead to replace the missing ball bearing that somebody stupidly lost when stripping the paint from this machine. There's a hobby store nearby, and they sell parts for model cars and planes, both of which appear to use 2mm bearings in some elaborate mechanisms, but I didn't relish forking out a chunk of cash to buy one just to pull it apart, never mind trying to find a suitable replacement in the first place.

eBay came through, though, with a domestic seller "toolsupply" offering a bag of 100 2mm balls for a very reasonable price, plus free shipping. The parts arrived yesterday, and I set them aside after playing the usual round of Inappropriate Joke Time with my family ("Hey! Dad's balls are here!" "Honey, did you mail-order balls?" "Oh thank goodness: now I have lots of spare balls." etc.)

Return handle, locked

The replacement fits perfectly. And no wonder I couldn't find them locally: 2mm is a tiny little bearing, far to small for any application that I can think of, even for a bike, as recommended in the discussion in the last topic. It's seated exactly right in the opening, and the small tang that holds the ball in place now properly locks the return arm, as above.

Here's a shot of the inside of the return mechanism, just for completeness and archive purposes, in case I get a bright idea to take the arm off again and forget how it goes back together.

Return handle, the business end

So, the arm is back in place at long last. I dropped in an old ribbon just to make sure I hadn't made any other horrible mistakes (I didn't) though I think I'm going to need to address that broken backspace sooner rather than later. It appears that the backspace is not only loose, but sometimes also hangs up the escapement which only a certain amount of jiggling can resolve. I might be getting back on eBay, checking out toolsupply's selection of springs, once I know what I'm looking for. Luckily, the backspace is accessible by removing the bottom plate alone, which is easy.

Fabric on the bottom

Naturally, I banished the crummy, stinky soundproofing foam from the bottom and side panels, and replaced it. This time I cut up a large piece of wool/nylon blend that I found in the remnant rack at eh craft store. It's held in place with automotive gasket silicon from the dollar store next door. The black looks pretty nice, what of it you can see.

I also lined some panels that weren't originally done, like the inside of the ribbon cover, and the inside of the panel that runs behind the paper table (behind the margins.) I also lined the inside of the knobs, since the paint bubbled up there. I like the effect of the red and black together, as you can see in the above pics. It's a repetition of the bicolor ribbon, and looks very typewriterish to me.

Fabric on the inside

I did this mainly so I would not need to completely strip the inside of all the panels. I was pretty tired of the power tools by that point -- everything was done hand-held, since I don't have a proper workbench -- and more than once I wasn't paying attention and abraded some of the skin from my hand or arm with a tool. Ouch.

I think it was all worth it, though:

The Silver Surfer, complete

I'm still not convinced about the aesthetic quality of the plain silver. I did try affixing some art-tape racing stripes to the machine, but the tape was never meant to affix to bare metal, and peeled right off. The panels are steel, so magnets will stick to them. Perhaps I will go for magnetic stripes, or flames, or some other decoration. I'm not sure yet. But that's what makes projects like this so much fun: it's a blank canvas, and there's tons of room for customization.

Thursday, May 24, 2012

Before the Strip

As requested, some "before" pictures detailing the many reasons why I think a typewriter makeover is due for this machine:

Streaks of mystery

The clamshell-style case has brown streaks of... brownness on it. Keeping the hand sanitizer close by at all times.

Foot fossil
All the feet are completely shot. These have to come off for me to get access to the insides anyway.

Rough handling

The ribbon cover has some small dents in it: not from transit, though, as UPS packed this machine expertly.

Ribbon gone wrong

A fine layer of eraser dust covers all surfaces. Can you say "dip & dunk candidate?" I knew you could.

Lift before use

We've struck rust! At least a tiny bit of it, where the lever has banged against the sides or someone's finger has worn away the paint.

Creeping cruds

The whole machine has pockets of crud about it, including a grimy layer creeping up the fronts of all the keys. I suspect a past life as a smoker's writing machine, as these look nicotine-ish to me. The inner layer of sound insulation will be sure to go, too.

KMart 100 typewriter

Oh sure, it's cute, but I think we can do better than cute, don't you?

Monday, April 30, 2012

Back in Brown

IMG_4260.JPG

typecast 20120430

Some photos from during the cleaning and assessment process.

IMG_4261.JPGIMG_4264.JPG
IMG_4267.JPG
IMG_4265.JPG

The overall condition of the machine is good: better than I remembered when I scouted it out in the store. It still has a lot of function left in it.

Thanks to the tab mechanism, the back panel of the HH is curved, which makes the machine wobble around when you balance it on its back. It's like a tortoise that's been cruelly inverted in its shell.

IMG_4268.JPG
IMG_4263.JPG

I wasn't paying close enough attention last time, as it turns out this is an elite type machine. Not my preferred size, but the face is clean and easy to read, especially now that the slugs have been cleaned out. None of the rustiness impedes the machine's functions.

Royal HH Typewriter, 1956

Wednesday, April 25, 2012

Summer Project

A digital update, since the machine in question is too cruddy to handle a typecast right now...

My wife spotted it at Salvation Army, and I did a follow-up visit: a Royal HH (standard) with my preferred pica typeface, but in a neglected state of affairs. Everything works, but is under a light layer of grime, gunk, dust, dirt, and in some places, rust. Good bones are underneath, though, just waiting to be revealed again.

Crud
Imagine this, but on a whole-machine scale.

The margins lack magic right now, as their rail is too gummy for them to slide freely, but after a quick consult with Alan, Richard, and Ryan -- all known HH owners -- I confirmed that the margins are settable by hand, albeit with some yoga-like manipulations to apply both the margin release button and reach under the carriage.

Bring the magic
Not entirely magical yet.

I need another standard machine like I need a hole in the head, but my wife was pretty encouraging of this machine, sending me tempting snapshots from her phone and saying things like "I'm not crazy about you collecting, but now I know a good machine when I see one." And this despite the price and our current household budget-tightening. The manager knows me, though, at least by sight, and he offered to knock 50% off the price. Sold!

After an uneventful lug home, the HH is on the sideboard, waiting for the weather to warm up and dry out for real so it can become my summer cleaning project.

Will it look like Alan's when I'm done? That would be nice, certainly. Check back later and we'll see how the project is going.

Thursday, October 13, 2011

Nor-Cal Mini Type-In

Dedicated followers of the Typosphere know that for a while, I seemed to be the only California-based typecaster out there (or at least the only one willing to blog about it.) Cameron of Living in the Woods joined up this year, and when he said he'd be nearby, we arranged for the 
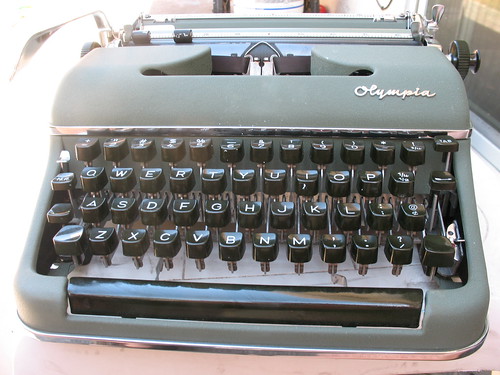
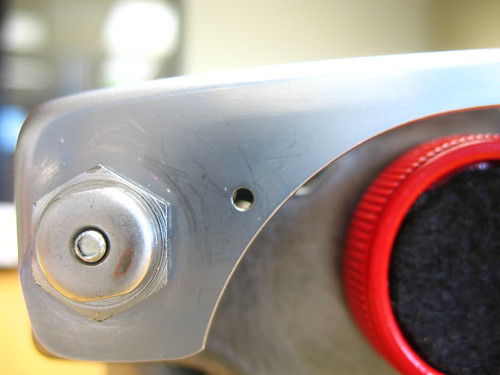
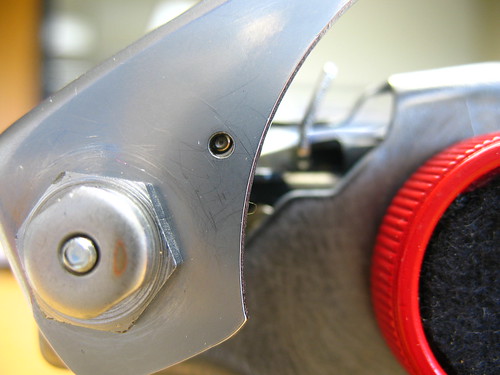
First Ever Type-In of the Northern California Branch of the Typosphere. We met today for lunch and typing, and some inspection of a couple of sick machines in Cameron's care: an Olympia SM3 with more than the usual amount of smooshed bushings, and a de-badged Olivetti with a loose top, letting me at last tell a fellow typecaster that he had a few screws loose.

My original meeting place of a coffee shop was passed up for the far larger table space in the adjoining courtyard: the same place where I filmed my one-man Typewriter Day celebration. Whether it was the sight of the mighty spread of machines (five between the two of us) or the the music of the typing as it echoed around the court, we talked with several passers-by about typewriters, the 'sphere, and this crazy thing of blogging on a typewriter and fielded many questions from an over-friendly security guard asking the worth of his old Underwood portable. Sigh. Note to graphic designers: we need to start passing out business cards with the Typosphere URL on it. Seriously.

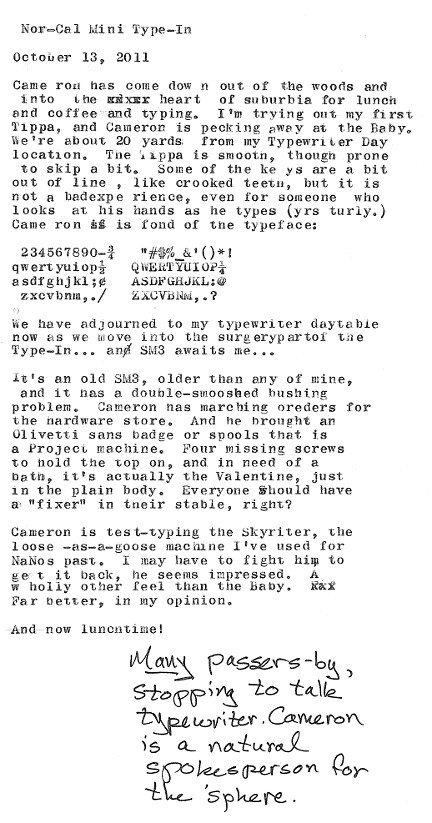
As always, the live-typing seems incomplete compared to the amount of actual socializing we managed to squeeze into my lunch hour: Cameron did more typing than I did, as I got to look over the problem machines he brought along. I'm rather camera-shy, and didn't want to put Cameron on the spot by taking his picture, so you'll have to settle for my typecast and these photos, and imagine two dashing gentlemen typing away on a pleasant sunny day.

20111013 typecast Tippa Versus Baby 
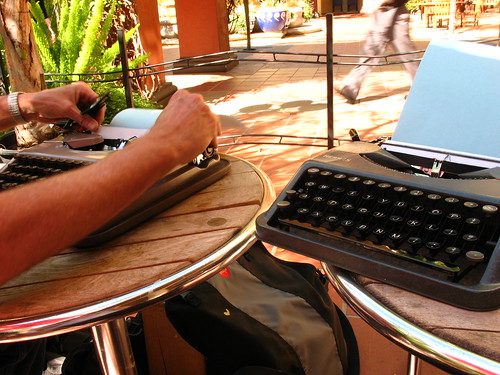
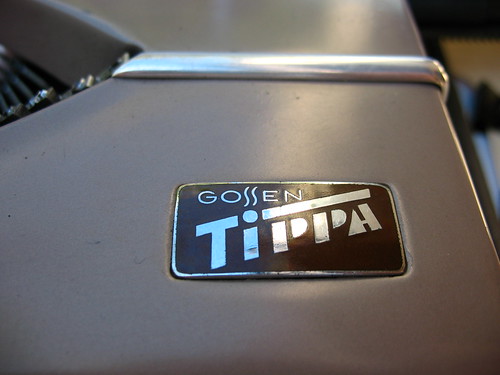
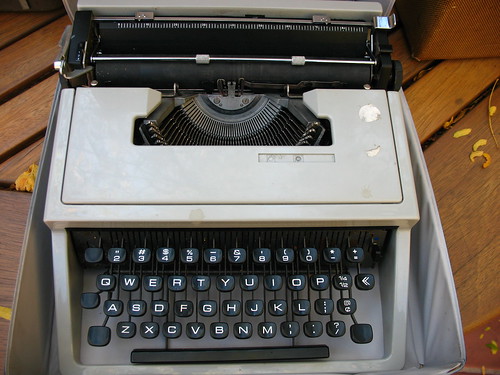
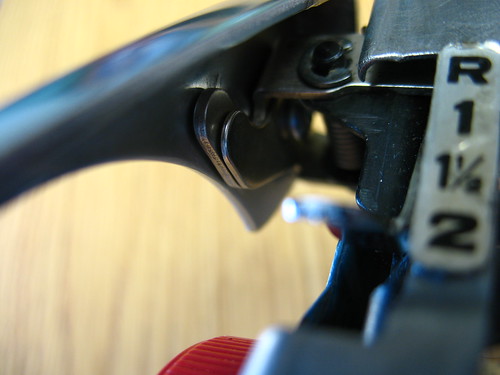
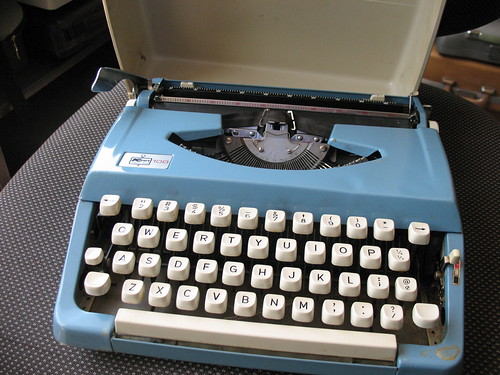
Cameron brought a Tippa at my request, and it's a cool little machine. I have a real soft spot for travel-size typewriters, and this one is very full-featured and well built. A little skip-prone with a "soft" left margin, but a fine machine nonetheless. Plus, it came with the manual and a load of accessories, including a ruler with which I demonstrated the magic "Olympia elite" typeface (11 characters per inch.) Gossen means business German Precision Mystery Knob 
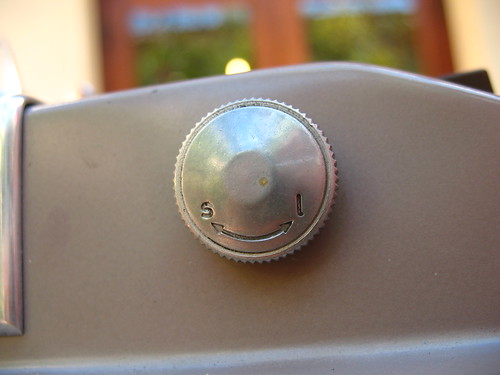
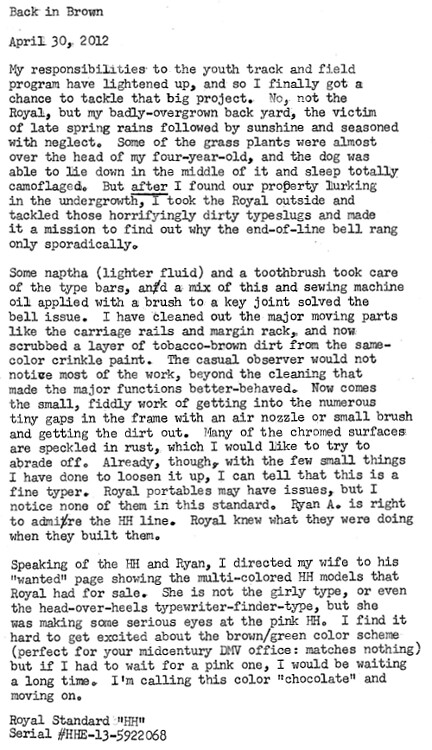
Touch control? I forgot to look this one up. But there's a clever "stencil" knob on the right-hand side. Both are features I haven't seen on a travel machine before. Shield your eyes! 
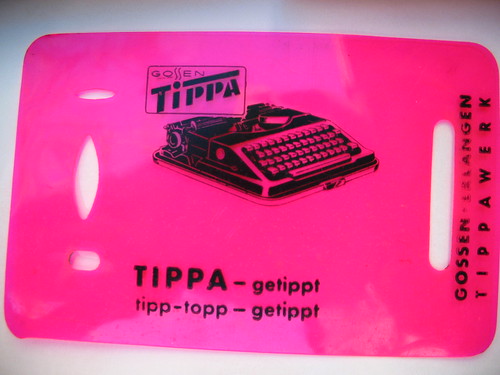
Love the plastic eraser shield that was in the case. Just outstanding. Love the Germans 
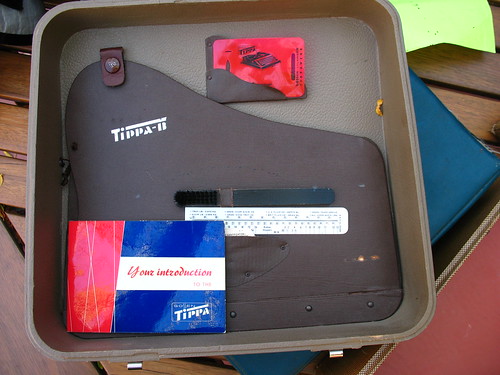
No space is wasted: a place to file everything. And leather! Not cheap vinyl. Importer 
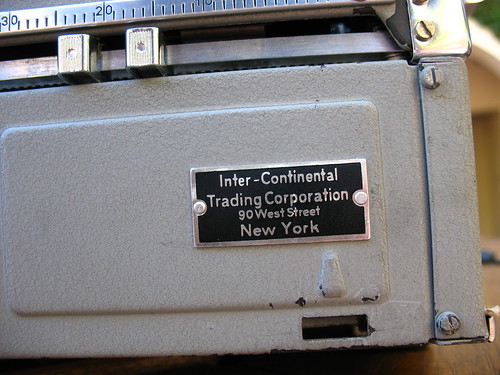
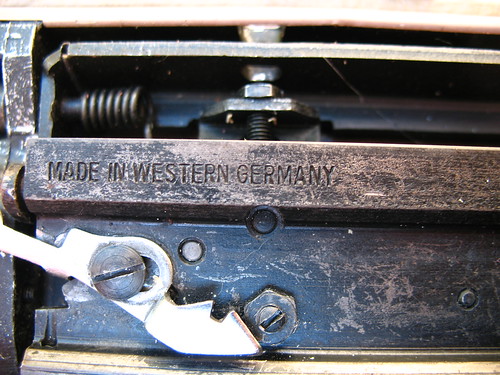
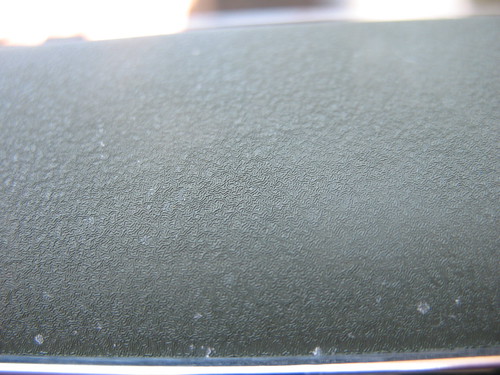
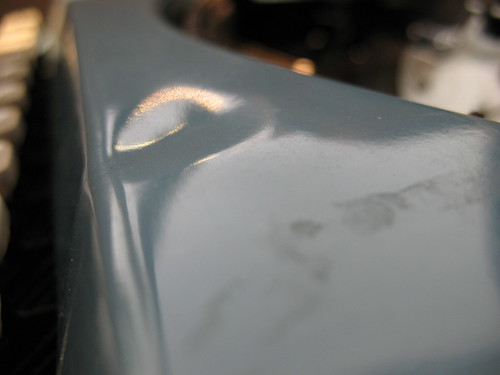
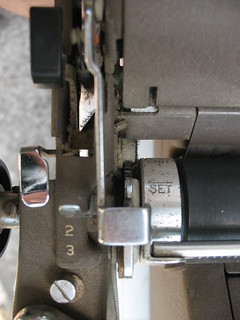
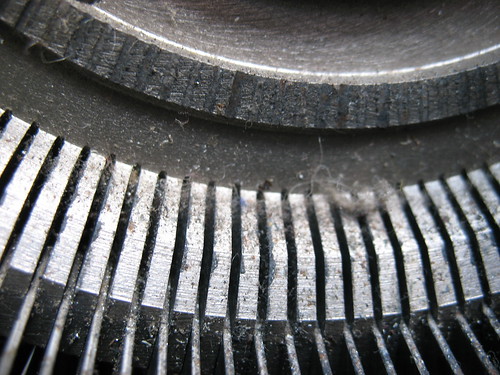
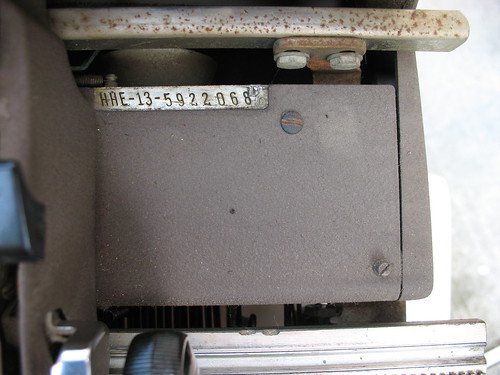
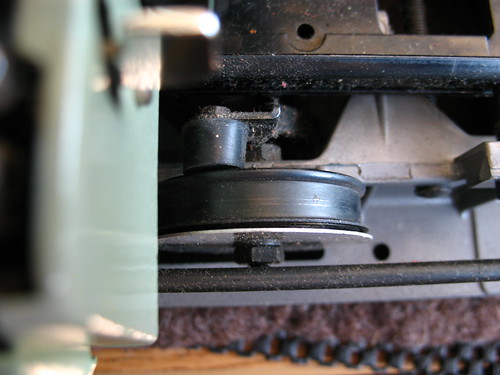
The back of Cameron's sick SM3. I took this to check against my own machines, which are newer. Fallen Olivetti 
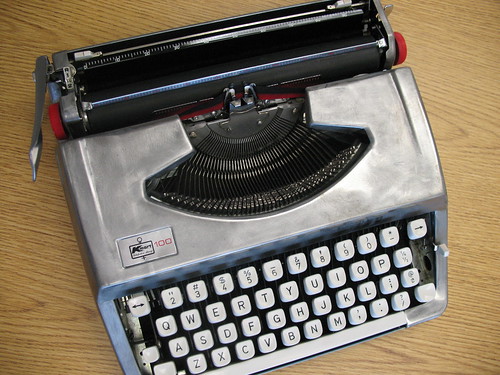
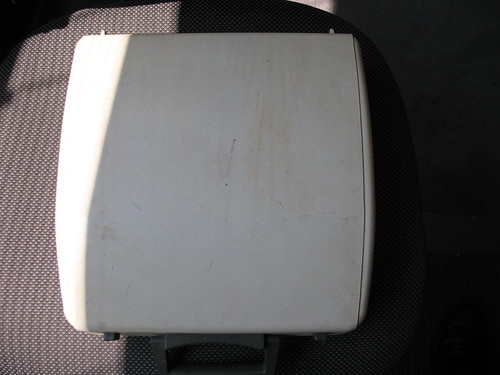
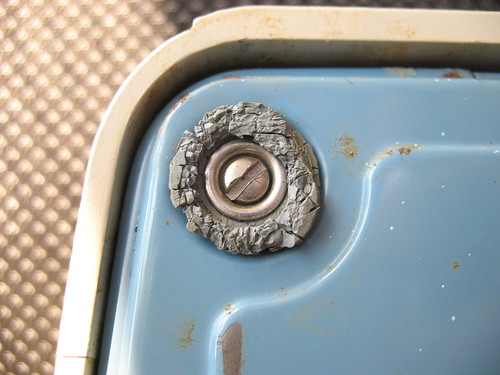
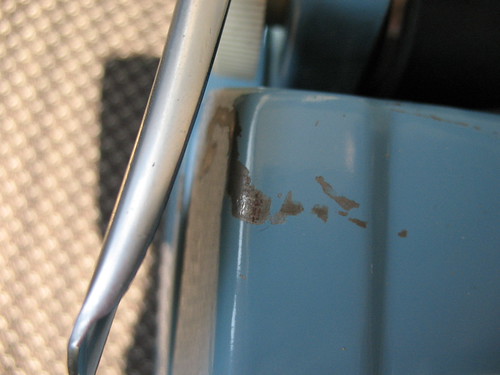
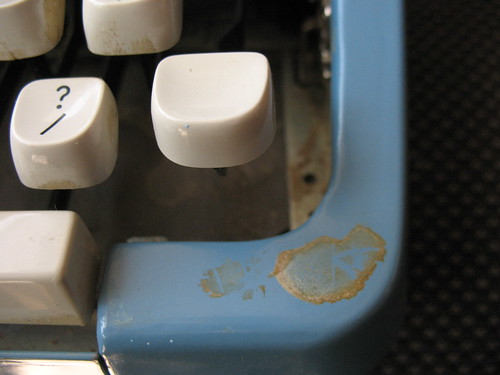
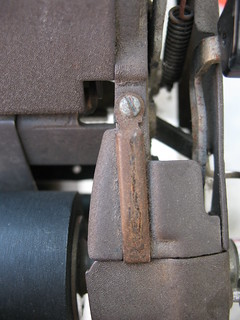
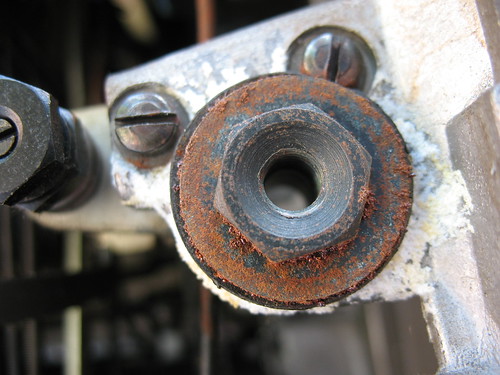
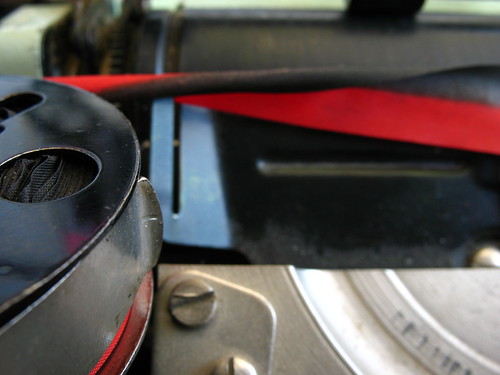
The other patient: a $5 Olivetti with a little rust and a loose top. Four screws will fix the top, cleaning is needed for the guts, and some Liquid Wrench or other penetrating oil is needed to loosen one of the spool nuts. It's just a Valentine, without the $200 plastic trash can attached. Noisemakers 
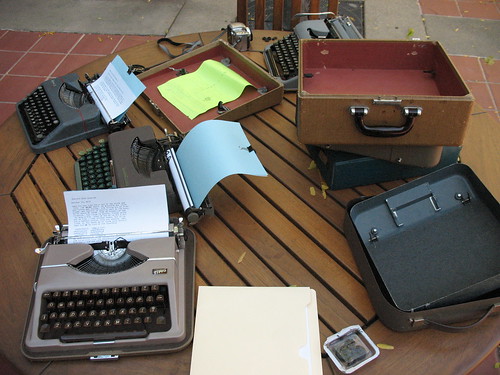
My view of the proceedings. Clockwise from lower left: Tippa, Skyriter, Baby, SM3, and Olivetti, hiding under the stack of lids. The Mighty Spread 
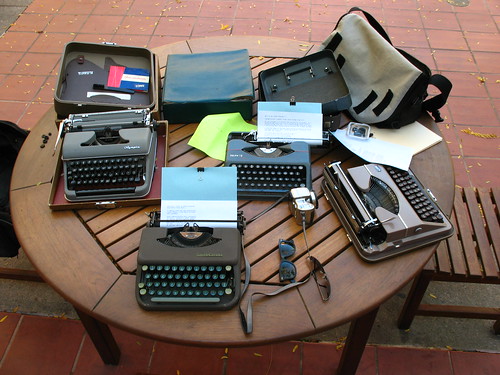
Cameron's view. Note the pile of smooshed bushings to the left of the Olympia. Kids! Always check your rubber. (ahem)
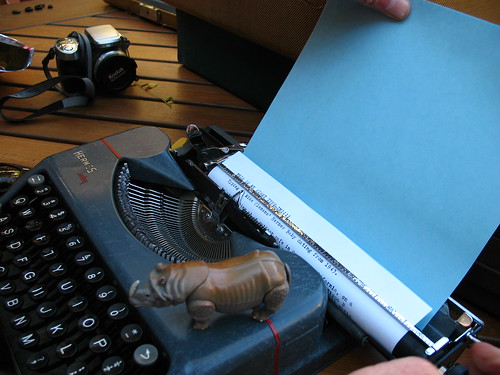
 Baby and Rhino, With Hands Even the Nano Rhino got into the act, coming out at the promise of a meal. Cameron's joining the Typewriter Brigade for his first ever NaNoWriMo this year. What about you?

Friday, September 2, 2011

The Mighty Monarch

Remington Monarch, c1963 20110902 typecast

Here's the right-hand carriage knob. I stuck a washer in there for strength, and as a base for any future blinging that may need to be done.The chocolatey-looking glop in the center is the puddle of JB Weld that is filling up the inside of the knob.
Remington Monarch carriage knob, repair attempt

This was the scary part: mucking around with a "live" mainspring. It's much nicer to replace drawbands when you don't need to look at the spring at all, but just slip it through a little hole in the drum. Not so here: the cord had to be wound through a little hole, knotted, and then wedged back in. Tricky.
Remington Monarch mainspring, before

Here's the view afterwards. Success!
Remington Monarch mainspring, after

Back in typing shape:

Remington Monarch, c1963

Tuesday, August 30, 2011

More Monarch

IMG_3691.JPG

Some up-close shots of the Monarch I picked up from the online auction, and which may have a future in front of the business end of a can of spray paint.

It's a problem child for sure, but beneath the cosmetic flaws, it's got good bones. The above was typed with the machine held up at an angle -- a gravity-assist carriage.

IMG_3689.JPG

That unexpected bit of fishing line is the drawband. No, it's not supposed to look like that. But I'm digging the light green color. "Celery" if you're interior-design inclined.

IMG_3687.JPG

This is the part of the repair job that concerns me the most: I need to remove the silver plate from the back of the drum, seen here from the top. The drawband is fastened inside somehow. There is no convenient knot-hole in which to slip a replacement cord. I am hoping the experience is not like opening one of those trick cans of peanut brittle with the toy snakes inside.

IMG_3685.JPG

The ribbon is hopelessly twisted and bunched on the spools, with ragged, torn portions. A loss, sadly, but it had enough life near the end to type just a bit.

IMG_3686.JPG

The king of typewriters? That might be stretching it a bit, but my experience with 1960s Remingtons is that they're snappy, crisp machines.