
The local craft store turned out to be no help at all for a 2mm bead to replace the missing ball bearing that somebody stupidly lost when stripping the paint from this machine. There's a hobby store nearby, and they sell parts for model cars and planes, both of which appear to use 2mm bearings in some elaborate mechanisms, but I didn't relish forking out a chunk of cash to buy one just to pull it apart, never mind trying to find a suitable replacement in the first place.
eBay came through, though, with a domestic seller "toolsupply" offering a bag of 100 2mm balls for a very reasonable price, plus free shipping. The parts arrived yesterday, and I set them aside after playing the usual round of Inappropriate Joke Time with my family ("Hey! Dad's balls are here!" "Honey, did you mail-order balls?" "Oh thank goodness: now I have lots of spare balls." etc.)
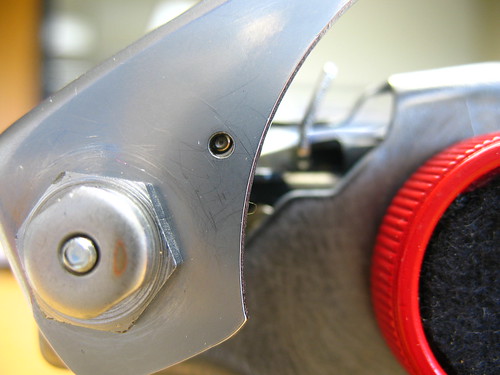
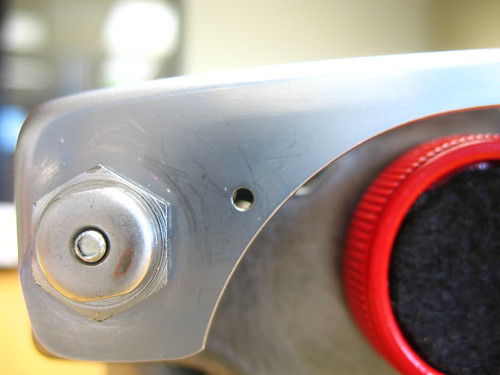
The replacement fits perfectly. And no wonder I couldn't find them locally: 2mm is a tiny little bearing, far to small for any application that I can think of, even for a bike, as recommended in the discussion in the last topic. It's seated exactly right in the opening, and the small tang that holds the ball in place now properly locks the return arm, as above.
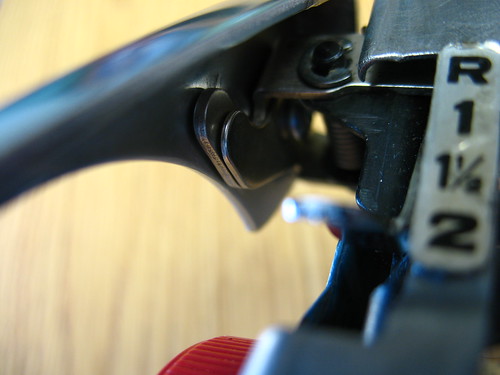
Here's a shot of the inside of the return mechanism, just for completeness and archive purposes, in case I get a bright idea to take the arm off again and forget how it goes back together.
So, the arm is back in place at long last. I dropped in an old ribbon just to make sure I hadn't made any other horrible mistakes (I didn't) though I think I'm going to need to address that broken backspace sooner rather than later. It appears that the backspace is not only loose, but sometimes also hangs up the escapement which only a certain amount of jiggling can resolve. I might be getting back on eBay, checking out toolsupply's selection of springs, once I know what I'm looking for. Luckily, the backspace is accessible by removing the bottom plate alone, which is easy.
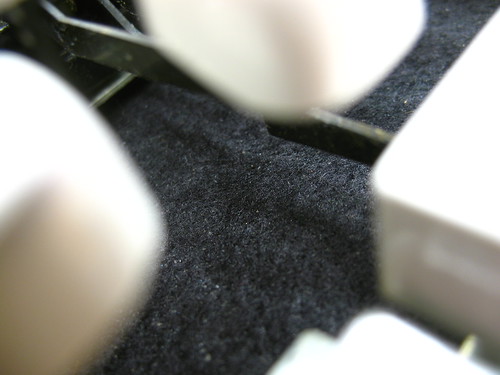
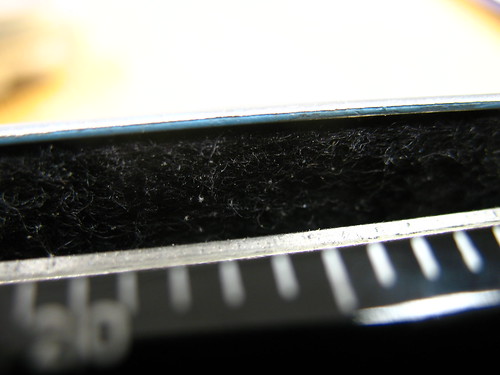
Naturally, I banished the crummy, stinky soundproofing foam from the bottom and side panels, and replaced it. This time I cut up a large piece of wool/nylon blend that I found in the remnant rack at eh craft store. It's held in place with automotive gasket silicon from the dollar store next door. The black looks pretty nice, what of it you can see.
I also lined some panels that weren't originally done, like the inside of the ribbon cover, and the inside of the panel that runs behind the paper table (behind the margins.) I also lined the inside of the knobs, since the paint bubbled up there. I like the effect of the red and black together, as you can see in the above pics. It's a repetition of the bicolor ribbon, and looks very typewriterish to me.
I did this mainly so I would not need to completely strip the inside of all the panels. I was pretty tired of the power tools by that point -- everything was done hand-held, since I don't have a proper workbench -- and more than once I wasn't paying attention and abraded some of the skin from my hand or arm with a tool. Ouch.
I think it was all worth it, though:
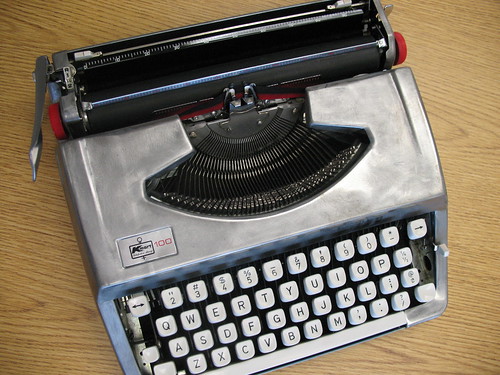
I'm still not convinced about the aesthetic quality of the plain silver. I did try affixing some art-tape racing stripes to the machine, but the tape was never meant to affix to bare metal, and peeled right off. The panels are steel, so magnets will stick to them. Perhaps I will go for magnetic stripes, or flames, or some other decoration. I'm not sure yet. But that's what makes projects like this so much fun: it's a blank canvas, and there's tons of room for customization.
9 comments:
Wow, toolsupply can supply any balls you want for your tool.
That is the coolest-looking Kmart typewriter ever in history, I can safely say.
I went all the way to the ginormous Flickr size of your photo to take a good look at the unfamiliar Kmart logo. Looks like a double female symbol.
Wow, you'll have to fix an awful lot of typewriters to use up these balls!
Looks nice, even though it shows that the shape of the Kmart is a bit clumsy.
Looks cool. I agree, the best looking Kmart typewriter. I'm not overly loving the "silver surfer" look. I know Richard did a cool Hermes 3000 (that was really shiny and looked cool) and Ryan did a Lettera 32 (or was it a 22?).
Both of those were really shiny though, almost not looking like bare metal.
Still, your work looks great and you learned a lot, which is what matters!
I agree that this doesn't come close to the other 'surfer projects I've seen around. The bare-steel look is interesting, but not shiny, though I'll take the blame for that.
However, I do like the industrial-ish look of the metal, and I have an idea for something that might be able to take advantage of the finish...
Excellent work Sir!
So how does it run?
Like!
That's awesome! It looks very industrial po-mo!
Looking good. If you ever discover an untapped source of elbow grease, you can get that "surfer-shine" with finest wet-and-dry (with water), then 0000 wire wool, then a slightly abrasive metal polish. Treatment works best on aluminium but give an excellent finish to steel plate too. The rest is down to creative photography :-)
I happen to *LIKE* the raw silver finish. Very sleek and industrial-looking.
Great job!
Post a Comment