Wednesday, May 30, 2012

Dirty Filthy Cheater

All right, we're going to give this another try.

After a late-in-the-month crash and burn in 2011, I'm jumping back into the summertime version of NaNoWriMo for real this year, but as threatened, I'm going to being a low-down no-good word-hoardin' cheater this time, opting to spend the month of June transcribing and editing my 2011 entry instead of trying to cut a new draft from whole cloth.

Any wayward Typewriter Brigade members and lovers of the Rhino can find me on the camp site by clicking the little tent badge over on the sidebar of the blog, or on this one:


In theory, this edit-not-write plan should be easy, since the words are already on the page, and I've already savaged  the draft with a pen inked with mystickal editorial ochre. The hard fact, though, is that this draft is at least as long as One Last Quest, and that took me a couple of months to get into the computer, and more besides to whip into readable shape, and then more still to work up the nerve to put it into the hands of readers. Without the motivational time-suck abilities of the Brigade in full swing, I have to sustain myself on the steady drip of peer pressure I'm feeling from certain corners of the Typosphere to follow suit and effectively double my published output.

So: skulking off to camp, in full blown cheat mode. And when I get back, sunburned and mosquito-bitten and slightly sticky from coffee and s'more consumption, I hope to have something worth sharing.

Tuesday, May 29, 2012

Strippers and Power Tools

Among the many other things I did over the holiday weekend (bleeding into a bag, idling in an auto showroom) I broke out the tools and an old bottle of chemical stripper, and of course, the camera. Here's a few in-progress shots of the KMart 100 being silver-surferized...

Shelled
Step 1 is always get the shell off. I'm still considering the idea of a paint job, so I went ahead and pulled the platen off, too: my first-ever removal. Finding the little set screws was the challenge, and hopefully they'll tighten down more easily than they loosened. Also, the knobs had to be removed to remove the small metal panels on either side of the carriage.

Through a Platen Darkly
A peep down the inside of the platen. The silver ends of the platen reflected light coming in from the outside. Is this a kaleidotyposcope?

Submerged
And bloop into the bath goes the guts. This removed a good deal of gunk from the works, though I still needed to brush out the typefaces (which made more mess later.) Next time: brush out the typefaces first.

Shell
The shell is the next thing to get some careful attention while the innards dried in the sun. I peeled out the foam soundproofing from the bottom and sides, which reeked of old cigarettes, despite a day or two airing on my back porch. In a moment of questionable judgment, I spray-painted the grimy, yellowed knobs with some red dye leftover from the Pimpwriter.

Peeled
Careful use of a knife and a hair dryer to soften the glue, and the badges came off with a small amount of coaxing. I'll flatten them again with a rolling pin before re-applying.


This was the part that took (and is taking) the longest. I used a wire brush on a drill to buff the paint off the outsides of the panels, after they had some ancient paint stripper brushed on. There's no going back now.

Buffing, Buffing, Buffing
Only after I had spent too much time trying to steady these pieces against a spinning drill (and often missing) did it dawn on me that I have a palm sander in the garage. That made much shorter work of the big, flat areas, but I still need to do some obvious touch-ups. All the main surfaces are done, though. Now I have to clean it up, and maybe try a finer grit on the palm sander to polish the metal. I haven't decided yet.

I do know that I don't have the patience to do all the interior surfaces. Chances are I'll just dress those up with some new felt or sticky-back foam from the craft store. Stay tuned!

Thursday, May 24, 2012

Before the Strip

As requested, some "before" pictures detailing the many reasons why I think a typewriter makeover is due for this machine:

Streaks of mystery

The clamshell-style case has brown streaks of... brownness on it. Keeping the hand sanitizer close by at all times.

Foot fossil
All the feet are completely shot. These have to come off for me to get access to the insides anyway.

Rough handling

The ribbon cover has some small dents in it: not from transit, though, as UPS packed this machine expertly.

Ribbon gone wrong

A fine layer of eraser dust covers all surfaces. Can you say "dip & dunk candidate?" I knew you could.

Lift before use

We've struck rust! At least a tiny bit of it, where the lever has banged against the sides or someone's finger has worn away the paint.

Creeping cruds

The whole machine has pockets of crud about it, including a grimy layer creeping up the fronts of all the keys. I suspect a past life as a smoker's writing machine, as these look nicotine-ish to me. The inner layer of sound insulation will be sure to go, too.

KMart 100 typewriter

Oh sure, it's cute, but I think we can do better than cute, don't you?

Tuesday, May 22, 2012

Striptease

typecast 20120522
KMart 100 typewriter


Presented on a strip of adding-machine tape on a very slippery platen. Looks like it's time to try the brake fluid trick, too. Typewriter images from shopgoodwill.com

From the keys of a Royal 1947 Quiet De Luxe
Royal Quiet De Luxe, c1947

Monday, May 14, 2012

Confessions

Not time-traveling: actually from May 2012. This machine has been in hiding for a while.

typecast 20120514

Typed on a little-seen 1947 Royal Quiet De Luxe
Royal Quiet De Luxe

Monday, May 7, 2012

Dear Mr. Remington: AYFKM?

Woe to the collector who acquires their first Remington portable! Woe, I say!

Remington Quiet-Riter, aka "Moses" c. 1952
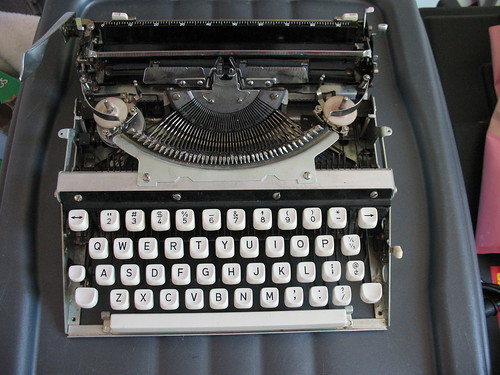
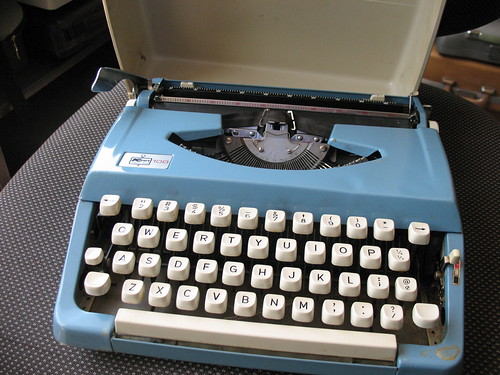
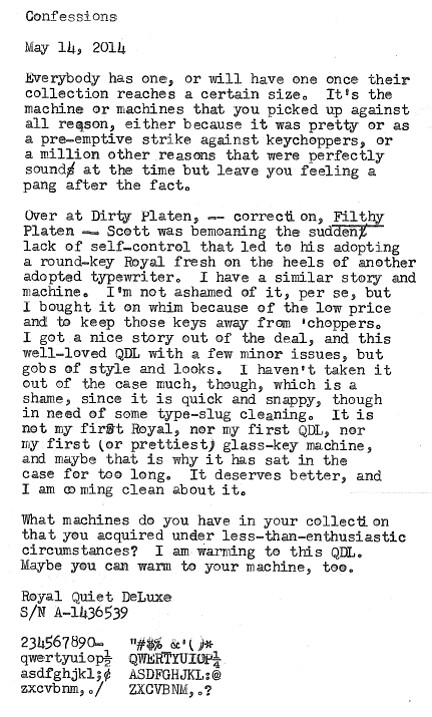
My first Remington... but not my last. A 1950s Remington Quiet-Riter

For reasons unknown to me (but probably known to others in the Typosphere), Remington eschewed using anything resembling a spool for most (or all?) of their portable machines. Sure, there were variations among other makers, too: Olivetti has spools are almost-but-not-quite like Smith-Corona, and even S-C went a different direction for their Skyriter-line ultra-portables. But, oh! Remington! You thought Betamax vs. VHS and 
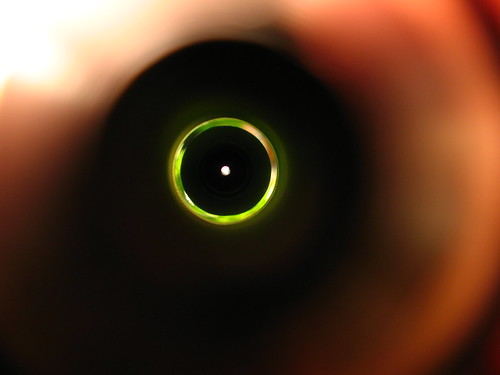
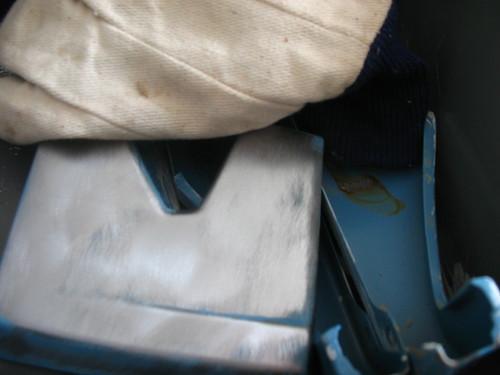
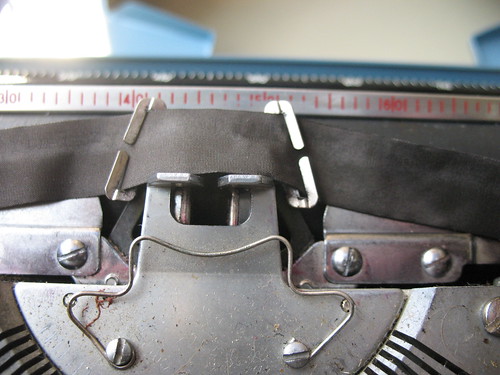
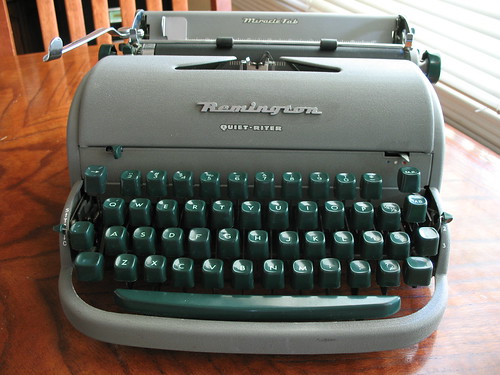
PC vs. Mac was bad, but ain't seen nothin' till you find one of these banging around the inside of your new portable:

Remington Ribbon Rings
WTF?

Seriously, Remington? Seriously? Even in their heyday, I can't see how this system was a good idea. Remington ribbons came wound around these rings ("cores," I've seen them called) and I guess the unlucky typist just ruined her manicure by trying to drop the whole thing neatly onto the waiting platform in the machine. The core fits over the middle of the spool, and Remington machines have a permanently-attached surface that the wound ribbon rests upon, like a Lazy Susan in the middle of the table at your favorite family-style restaurant. Removing the spent ribbon must have been equally pernicious, as the poor typist would then need to pick the whole thing up and chuck it into the garbage, core and all.

What's even more shocking to me is that Remington stuck with the design, whether out of pride, or consistency, or because there was a good business case to be made by having exclusive ribbons. For the modern user/collector, though, it's a huge pain. Usually most people will start amassing a selection of spools salvaged from old machines or new plastic ones used to wind on ribbons to other machines. These are the Smith-Corona style, I think -- the 2" diameter spool with the little holes cut out near the hub which are turned by a rotating peg. I have several pairs of these, but only a few cores, despite the half-dozen or so Remingtons that have passed through my hands.

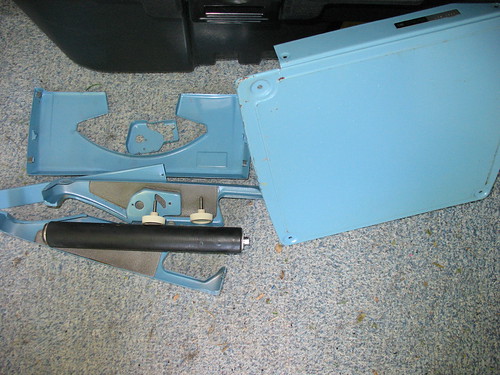
You can always wind a ribbon on to the core, of course. Slip the core over the center of the rotating platform so that the little prong points in the direction of travel, spear the end of a ribbon on that prong, and turn the platform... slowly... slowly... slowly... until it's all wound. I've done this using a pencil eraser to turn the platform like I'm punting up an inky river. The results are not pretty.

Hand-wound Remington Ribbon
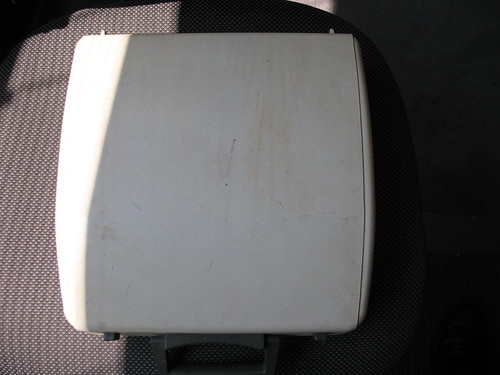
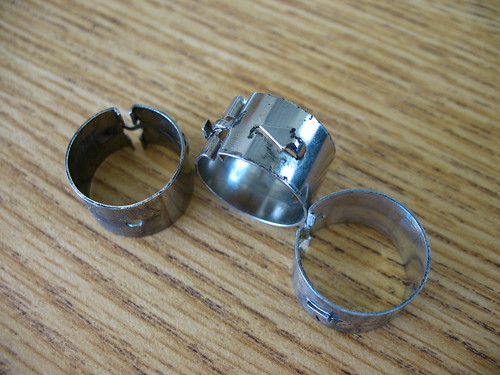
Cover that up! Shown in a 1940s Remington Noiseless 7

Even the smallest bump or irregularity will cause the ribbon to bulge out around it. No wonder Remington put covers on top of the spools. It's just embarrassing.

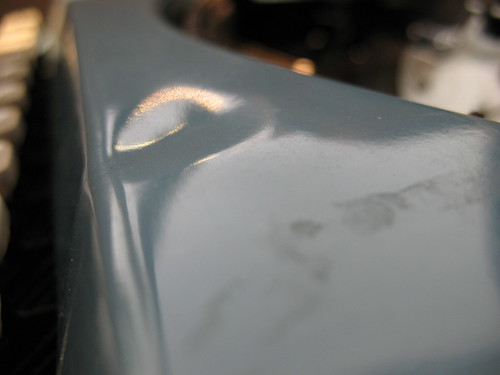
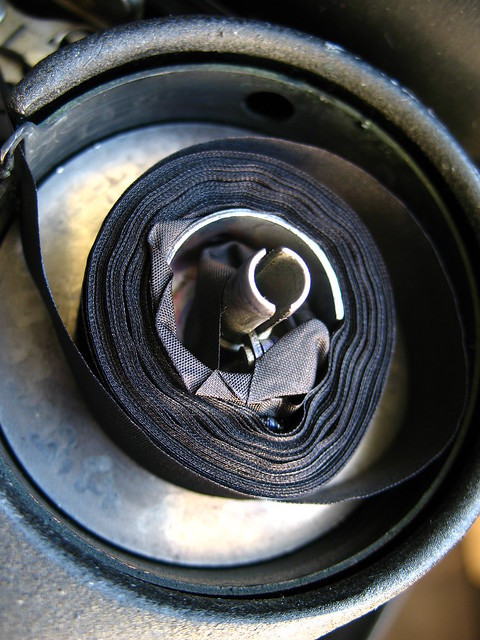
Happily, there is another way. Underwood standard machines take a spool that looks a bit like a donut: the center of the spool must slip over a central hub instead of a simple peg. Whether by accident or design, this it a perfect fit in the Remington spool area. You may not be able to fit the covers over the spool afterward, but then, you may not need to.

Underwood Spool in a Remington
So tidy. My OCD is sated. Shown in a 1960s Remington Monarch

The bad news is that I see these spools even less often than Remington cores: I have exactly one pair from my Underwood, and that ribbon hops around from machine to machine as needed. But at least I have the option to do this.

I have seen modern plastic "universal" ribbons for sale online that appear to have a removable central hub. The spool is black plastic, and the central hub is white. Those of you old enough to remember the adapter that fit inside 45rpm records can picture this most clearly, I think. I have yet to see one of these spools -- my local stores only carry the Smith-Corona style. If you can find some of the universal ones, though, and that center does knock out, then you won't be needlessly bitten by the Remington Curse.

Update: What brought this post on was a comment by Judith at Dante's Wardrobe on 
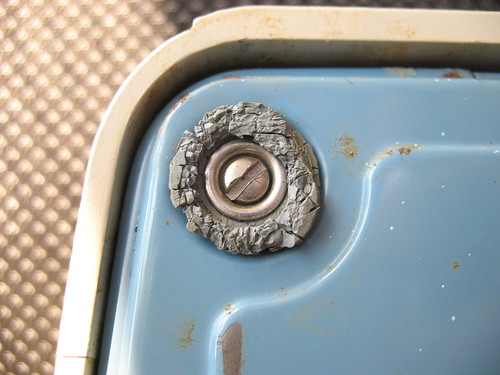
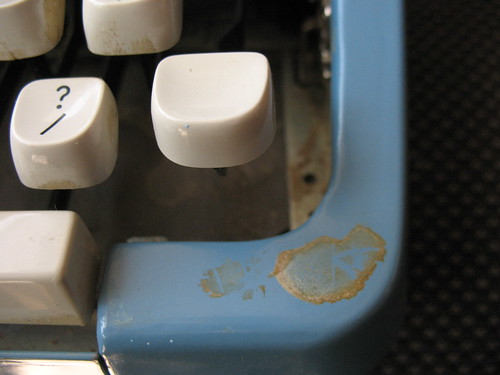
el Twitter as she's trying to get a ribbon onto her own Quiet Riter. She posted a photo of the innards of her machine, with something circled:

Remington_Travel-Riter_Ribbon_Spools_highlighted

I'd forgotten about this. This is a later-style ribbon cover from Remington: it pressure fits on the central hub of the spool and can be removed with a firm pull upwards to access the ribbon and the ring/core. If you have one of these, then your spooling won't be quite as awful, since you can spin the top of the cover with your finger to wind the ribbon on. I didn't get a pair of these until I purchased the Monarch last year, though, long after I'd acquired and sold a number of other Remingtons. If you must wind directly on, at least this can help keep your fingers from coming out totally inky. It won't make removing a dead ribbon any easier, though.