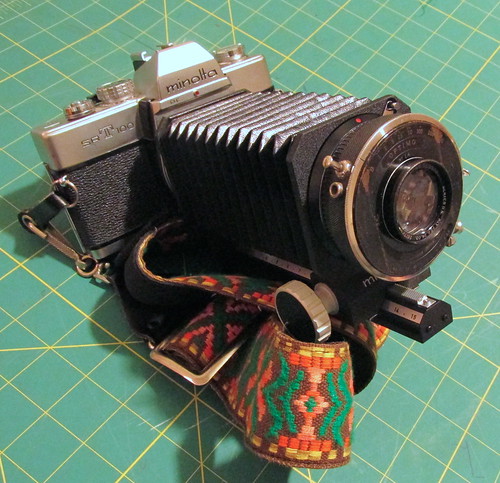
The problem with long-languishing projects left on the shelf is that eventually you need to face them. Lately I've gotten the notion to return to the old Kodak Autographic camera I picked up ages and ages ago, with the grand ambition of resurrecting it somehow. Here it is, sans bellows (see below) and with the lens board retracted.
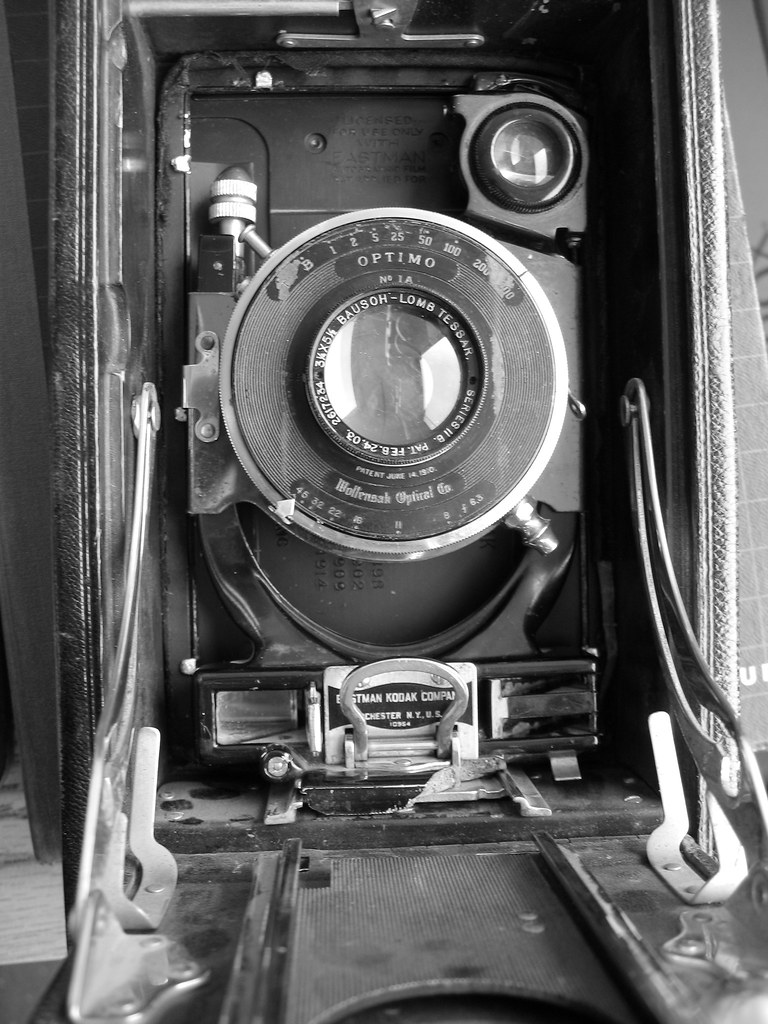
Refitting it to take modern 120 film, for example, instead of the long-defunct 122 roll film format. Replace the disintegrating bellows. And, like so many of my good intentions, the scope of the work staggered me. The "to do" list looks like:
- Remove lens and clean shutter
- Remove and replace bellows
- Acquire old 122 spools, somehow fit to 120 spools
- Hope to the spirit of George Eastman that the camera is still light-tight
- Take photos!
1. Remove lens and clean shutter
Doable enough, thanks to directions from the Net. Hey presto!
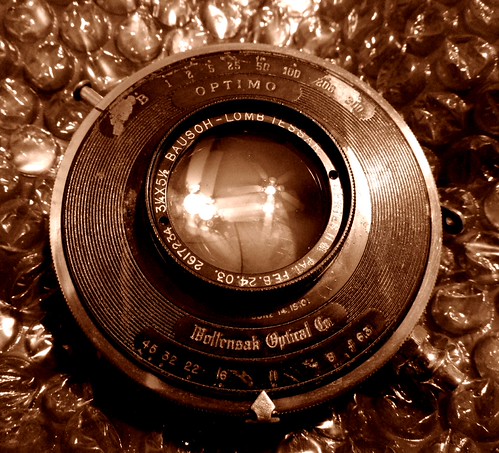
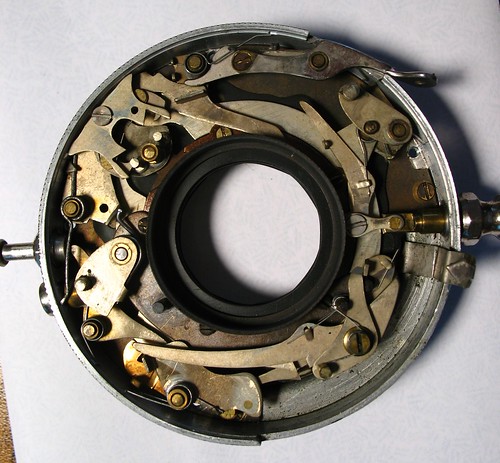
And you may remember "clean shutter" from a long-ago post. Here's the insides, if you want to marvel at it like I do:
 Progress
:
COMPLETED
2. Remove and replace bellows
Removal, check:
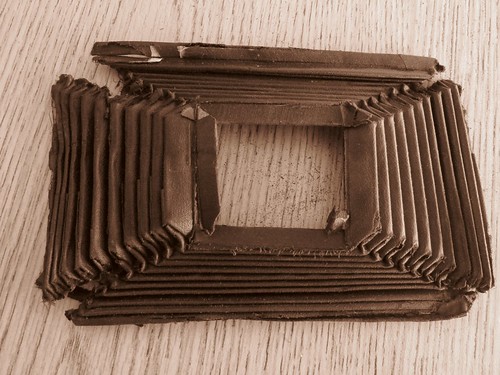
Not surprisingly, Kodak didn't
want you to remove the bellows from these cameras. Think iPhone battery, but in the 1920s.
These
are were riveted into a metal plate around the lens, and
are were held in place near the film by a set of menacing looking metal tabs. Oh, and they're so old and dry that they are literally crumbling.
Replacement is simple! First, build a time machine...
The collective wisdom of the Net shows DIY bellows made from leather, or light-blocking curtain fabric, or black Bristol board and duct tape. There's a lot of measuring, evidently. And creasing. And folding. And maybe even a bit of math.
Progress:
FULL OF GOOD INTENTIONS IF NOT ACTUAL PROGRESS
3. Acquire old 122 spools, somehow fit to 120 spools
One of the Typosphere's own solved this problem years ago, and far more elegantly than I would have. A trip to eBay for spools and the dollar store for some sacrificial screwdrivers would do it.
Progress:
SHAMELESSLY COPY, BEING SURE TO CALL IT A "TRIBUTE"
4. Hope to the spirit of George Eastman that the camera is still light-tight
[Cue sound of needle scratching across a record]
Yeah, about that.
So, aside from the century(?) old bellows having seen far better days, some previous owner mishandled this camera and dropped it right on the front corner. Part of the carriage that slides the lens forward and back is simply gone. And the rangefinder mirrors are cracked and bent. And that's only what I can see.
Replacing the bellows properly looks like a project unto itself. And for a camera that's been traumatized already, that will resist my "upgrades"... well, you can see why this got shelved.
Progress:
SHIFT TO PLAN "B"
Enter Plan B
Two things have me pulling the old Kodak and its part of the shelf again, working the shutter on the lens, looking at Bristol board, and pricing black cloth tape...
First, various people shooting by bodging antique or vintage camera lenses onto the front of their DSLR cameras. The results are rather dreamy and lovely to look at, and although the integrated shutter in this lens makes it far from suitable for re-use that way, it got me thinking about the marriage of old versus new.
Second, there's (no surprise) a very vibrant DIY camera movement out there.
Joe Van Cleave's examples are lovely pieces of engineering and camera-making, especially
his recent box/pinhole model, which got me thinking about old view cameras, to the point where I checked out a monster coffee table book from the library just to get more inspiration. And the one that's currently giving me the most hope, as in "hey I have all that stuff at home" is
this Lego-and-paper-and-tape creation.
All of these examples are helping me attain something I so badly need: focus. Not getting bogged in particulars, and remembering that it doesn't take a ton of engineering to make an image.
So, the lens is off, the bellows are destined for the trash bin, and maybe, just maybe, one project will come off the shelf.